Product Photography Tips for Small Businesses Using a Phone
By IndieAM · · Updated
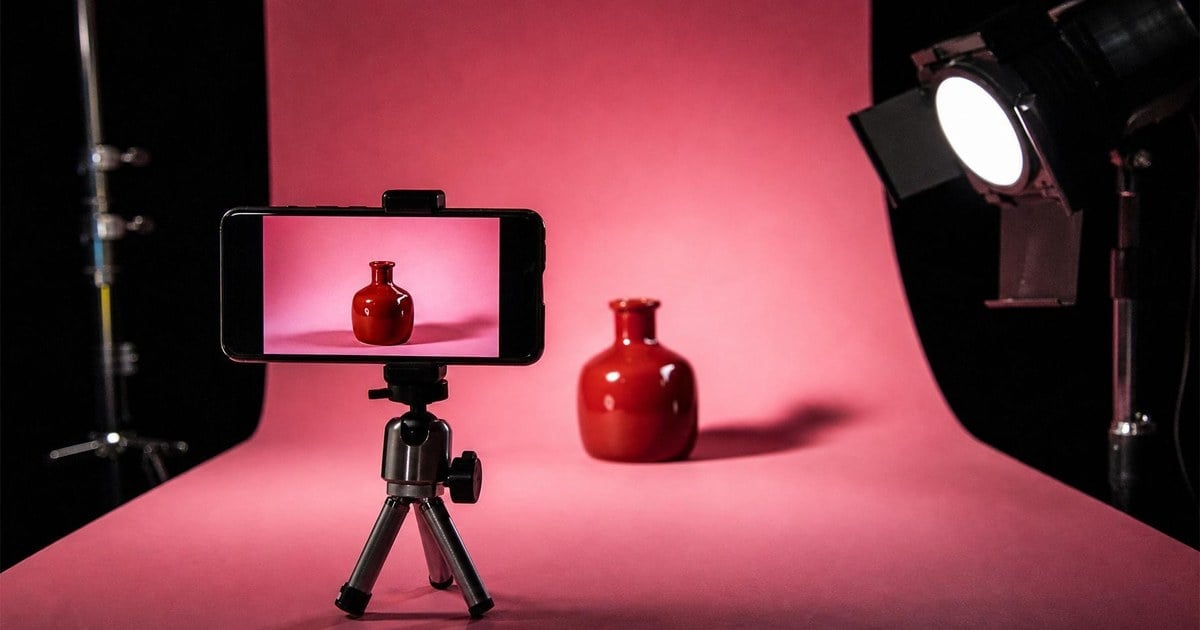
You can take good marketing photos on the phone you already own. What makes the biggest difference is light, not gear: a window, a clean background and a steady hand will get you most of the way. And your own photos have something stock pictures can't offer, which is that they show your real work, in your real place.
Why your own photos are worth the trouble
A customer looking at your post wants to know what they'll actually get. A real picture of your bread, your finished kitchen or your salon chair answers that. It doesn't have to look like a magazine. It has to be sharp, bright and honest.
Google's guidelines for Business Profile photos ask that a picture be in focus and well lit, with no significant alterations or heavy filters, and that it represent reality. That's a good standard everywhere.
What are 7 basic tips for taking good photographs?
There's no official list of seven. These are the ones we think matter most for a phone and a small business, in order of how much they help.
1. Use window light
Turn your flash off and go to a window. Shopify, which sells online store software and publishes a useful guide to phone product photos, recommends natural window light because it comes from one direction and gives your product soft shadows and texture. It also warns that a flash will overexpose the shot and spoil the colors.
Stand with the window to the side of the product, not behind it. Shopify suggests placing your setup at 90 degrees to the window. Closer to the window gives softer light with darker shadows. Further away, the shadows get lighter and sharper.
Avoid harsh direct sun, which Shopify says can oversaturate colors and show every tiny flaw. We'd also turn off the ceiling lights if you can, since mixed light can tint the colors.
2. Clean the lens
This takes five seconds and is the fix most people forget. Phones live in pockets, and a fingerprint on the lens makes pictures hazy. Apple's own advice for blurry photos is to clean the lenses with a microfiber cloth.
3. Use the back camera, and don't zoom
The back camera is typically better than the selfie camera. And Shopify warns that zooming greatly reduces image quality. Move closer instead, or crop afterwards.
4. Tap to focus, and check the brightness
On most phones, tapping the screen on your subject sets the focus there and brings up a brightness control you can slide. It's worth doing every time. Then zoom in on the picture you just took, because blur you can't see on a small screen shows up once it's posted.
5. Keep the background plain
Move the mop, the receipts and the charging cable. A plain wall, a wooden table or a big sheet of white card will do. Shopify favors white, which bounces light onto the product and evens it out. That suits a product shot. For a cafe or a workshop, a tidy real setting often says more about you than a white sheet would.
If one side looks dark, stand a piece of white foam board opposite the window to bounce some light back.
6. Hold it still, and leave room
Rest your elbows on something, lean on a shelf, or buy a small tripod. A tripod also helps your photos look alike, since Shopify notes it reduces shake and keeps angles consistent. If you're shooting one product from several sides, turn the product and leave the phone where it is.
Leave some space around your subject too. Instagram, Facebook and Google all show pictures in different shapes, so the edges may get cropped. A photo with room to spare can be cropped to fit. A tight one can't.
7. Take many, and keep few
Take ten, change the angle, and move a little. Try straight on, from directly above, and from a low angle. Then keep the best one or two, and delete the rest while you're still standing there. Edit lightly: straighten it, and nudge the brightness if you need to.
What to photograph
When you're stuck for something to shoot, work through this list. You can do most of it in one quiet half hour.
- The product alone, on a plain background
- The product in use, in someone's hands, on a table, or being worn
- Close-ups of texture or fine detail
- The work in progress: the dough, the half-tiled wall, the color being mixed
- Before and after, taken from the same spot in the same light
- The place: your front door, your counter, your street
- You and your team, doing real work rather than posing
Vertical photos usually fill a phone screen better, and they suit Stories and Reels. We'd shoot both ways when you can. Our guides to Instagram for small businesses and making Reels show how to use them.
Photographing customers: ask first
This part is plain advice, not legal advice. A customer's face in your marketing is different from a holiday snap, and the safe habit is simple: ask first, and get a yes you can point to later.
Here’s why it matters. In the US, people generally have a say in how their image is used to promote a business, and that covers everyday customers, not only celebrities. The rules vary by state. It’s also just easier to ask first than to have that conversation with an upset customer later, even if you turn out to be in the right. If you’re doing anything beyond ordinary posts, or a customer raises a concern, a short talk with a local lawyer is worth the cost.
A simple way to handle it:
- Ask before you take the photo. Not after you've posted it.
- Say where it will go. "Can I put this on our Instagram and website?" is clearer than "Can I take your picture?"
- Get it in writing. A signed release form is the most thorough way. For a small shop, even a short text or email with a yes gives you a record. Keep it with the photo. Whether that's enough for your situation is a question for a lawyer.
- Get a parent's or guardian's yes for children. The NBC News article notes that a guardian must sign a child's release.
- Check the background. Other customers in the shot didn't agree to anything. Wait until they've moved, frame them out, or shoot at a quiet time.
- Take it down if asked.
Ask staff too, before you feature them. And check what else is in the frame, like an address on a parcel or a client's name on a screen.
If you'd rather not ask at all, you have plenty of other options: hands, finished work, and photos with faces turned away all work well.
Turning photos into marketing
Keep a running album on your phone, so you're not hunting for a picture the moment you need one. When you post, you can see which pictures people respond to by following the 3 numbers that matter.
You still need something to do with them, and there are a few ways to handle that:
- Hire a photographer once or twice a year for a set of images, then fill in the gaps yourself. It suits a business where polish really sells, like a wedding venue.
- Use software that plans around them. We make IndieAM, which plans a month of marketing and writes the posts for you to approve. It uses your own photos wherever they fit and makes AI pictures where a generic scene would do, and approved posts publish to your connected accounts. It won't come to your shop with a camera, so if you'd rather not take any photos of your own, a photographer or a freelancer will suit you better. Our prices are on the home page.
Whichever you pick, try this tomorrow: wipe your lens, take one thing you sell to the nearest window, and take ten pictures.